Assessing students’ submissions to assignments can be a time-consuming task. This page can help lecturers with using the assignment folder, adding feedback, and grading assignments. Moreover, the option of assessing in bulk, using rubrics, and assessing through the gradebook are discussed.
Visit this page for information about setting up an assignment in Brightspace.
Brightspace gives lecturers the possibility to assess assignment submissions anonymously. In this way, any unconscious bias can be avoided in the assessment process. As such, it is advised to make use of the option. When the feature is turned on lecturers can only see an anonymized student’s name in the submission folder. Once feedback has been published the user names will be revealed to the lecturers.
To use anonymous assessment, see the steps below:
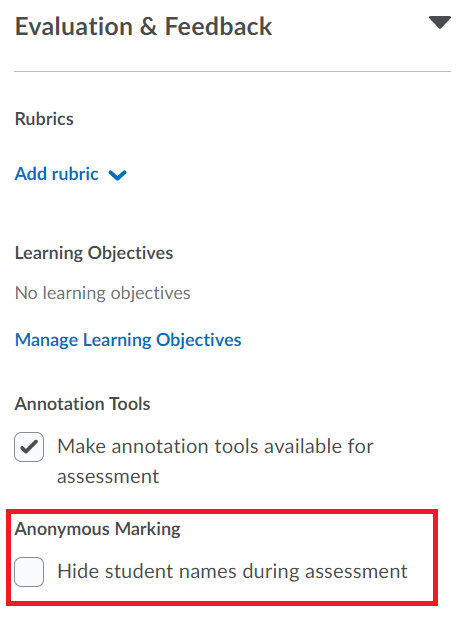
- Navigate to the assignment you want anonymized through Assignments, then select the dropdown menu next to the relevant assignment and select Edit Assignment. Under Evaluation & Feedback, select the checkbox to Hide student names during assessment.
Once anonymous marking is selected for an assignment folder, students will be presented anonymously and in random order to the person assessing. This is true for people with all possible Brightspace roles.
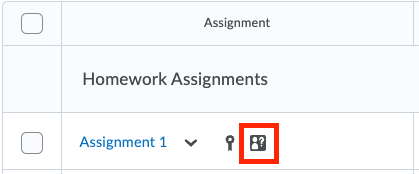
- Once the abovementioned setting has been selected for an assignment, navigate back to the assignment list. Attached to the specific assignment an icon will have appeared, confirming that the anonymous marking has been enabled.
Due to the anonymized nature of this option, the assessment can only be released anonymously too. In order to publish the feedback, please follow the normal procedure of selecting the students you want to release the feedback for (or choose All). Once published, a pop-up message will appear, summarising the number of students for which feedback is available. The total number of students for whom no feedback is available yet will also be listed in the same message.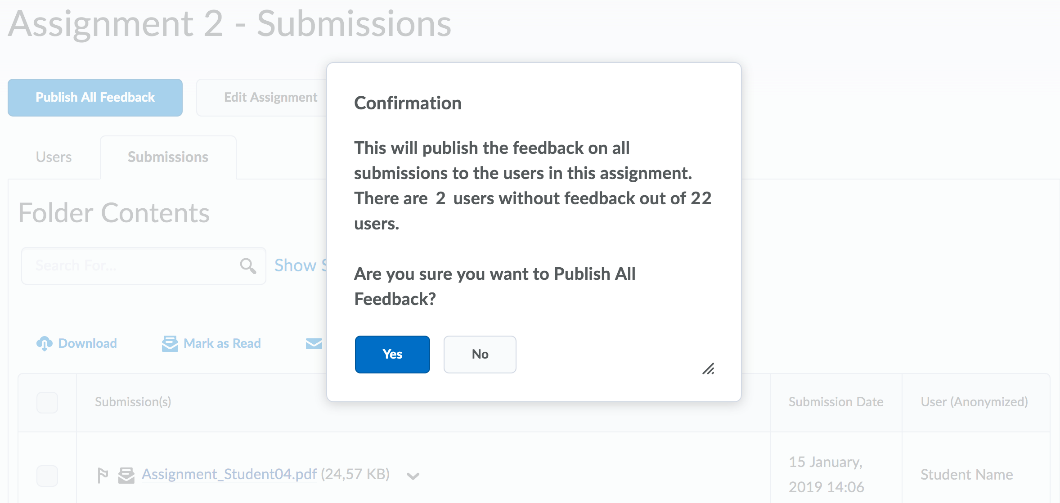
Assessing through the Assignment Folder
The most common way to assess students’ submissions is through the Assignment Folder. Here you can select an assignment, see who completed the assignment and give feedback. An overview of how to use the Assignment Folder will be given in this section.
For a complete overview of all students’ submissions that are awaiting evaluation in a single place, Quick Eval can be used. Quick Eval can also be used for Quizzes and Discussions.
- To check the submission progress, click Assignments, click the dropdown arrow next to the title of the Assignment and then click Submission Log.
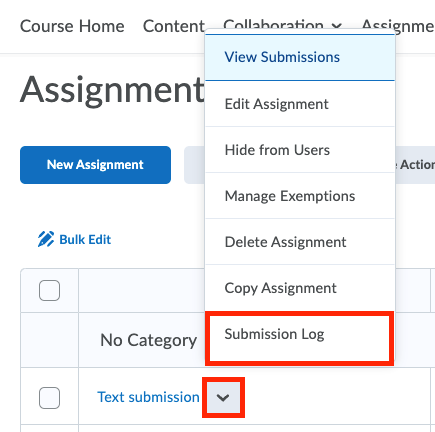
Via the Submission log you can filter the lists of Submitted, Deleted, Restored and Started submissions.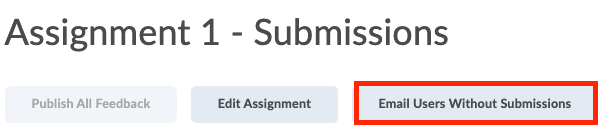
Once the due date for the assignment has passed, you can start assessing.
To start adding feedback to a submission:
- Select Assignments from the navigation bar.
- Select the specific assignment you wish to evaluate.
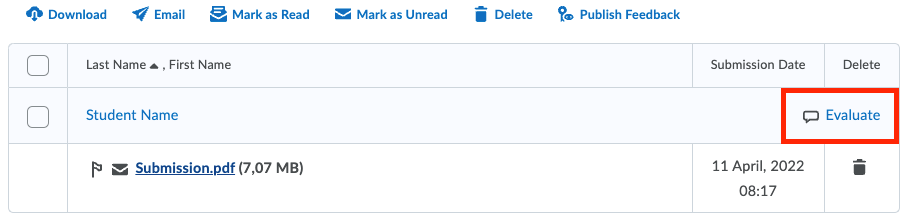
- In the submission log with all students and their submissions, select Evaluate for the specific submission you wish to assess.
- Add your feedback to the Overall Feedback field at the bottom of the right-hand side.
Furthermore, you can also link to additional locations for feedback by using the 3 options in red below the field. You can use this to Attach a file, link to an “Existing Activity” (a location in your course) or add a weblink.
- To save your progress while assessing a submission select Save Draft at the bottom of the screen. Finally, when your assessment is completed you can publish the feedback.
Additional to the Overall Feedback field, lecturers can annotate, highlight and draw within a student’s submission to provide contextual feedback. These annotations remain editable until the feedback is published. Furthermore, additional feedback can be added after publishing by updating the annotations and re-publishing the evaluation.
The options available for annotation are all accessible through the Annotations Toolbar, whose available features and their use are quite intuitive. Additionally, you can see what feature is meant by a symbol simply by hovering your mouse above the specific symbol.![]()
The features available in the Toolbar are highlighting text, drawing in freeform and specific shapes, adding text, adding notes and undoing, redoing or erasing previously made annotations.
By default, annotations are turned on in Brightspace. If you wish to turn this off for an assignment, go to Assignments and select Edit Assignment. Select Evaluation & Feedback in the panel on the right and uncheck Annotation Tools.
After annotating a submission and/or providing overall feedback you can publish the feedback to the students. If you wish to attach a grade to the evaluations, you can continue to grade the assignment.
Additional to providing feedback on a student’s submission, it is possible to give the submission a grade. This can be done if the assignment was set up specifically to include a grade. To see how to set up an assignment with grading click here.
If you have set up the assignment to include a grade, the feedback section of submissions will look slightly different and include an Overall Grade. This is where you can fill in the intended grade for the submission. When you publish the assessment a student will then receive his or her grade in the feedback as well as in their gradebook (if selected). If you do not see the Overall Grade field, your assignment probably does not have a grade attached, please see “Creating Assignments” for information on how to do this.
If you leave the Overall Grade field open when publishing the feedback, a student will either still see a 0 in his or her gradebook (when the grade is associated with a grade item) or not see a score at all (when the grade is not in the gradebook). The students will still receive and see any feedback provided.
Moreover, if you do add or change a grade in a later stage this will automatically become visible for the student.
Whereas with individual assignments Instructors can choose whether to apply the grade in the Grade Book or in the Assignment folder, for Group Assignments where a single grade needs to be applied to all group members, it is required to assign the grade in the Group Assignment Folder.

To add a Group Assignment grade, open the submission in the Assignment folder and add a score to the assignment. The grade will be applied to all members of the group (for this particular assignment). Underneath you are able to add any comments in the Overall Feedback box. Lastly, you have the option to add additional comments/feedback by adding attachments using the 3 options in the bottom.
After finishing your assessment of a student’s submission, you can choose to Publish the feedback and/or grade. If you wish to simply save the assessment to continue assessing later, you can select Save Draft. The student will then not be able to see his or her feedback yet. Both Publish and Save Draft options are visible on the bottom right of the screen when having a submission selected.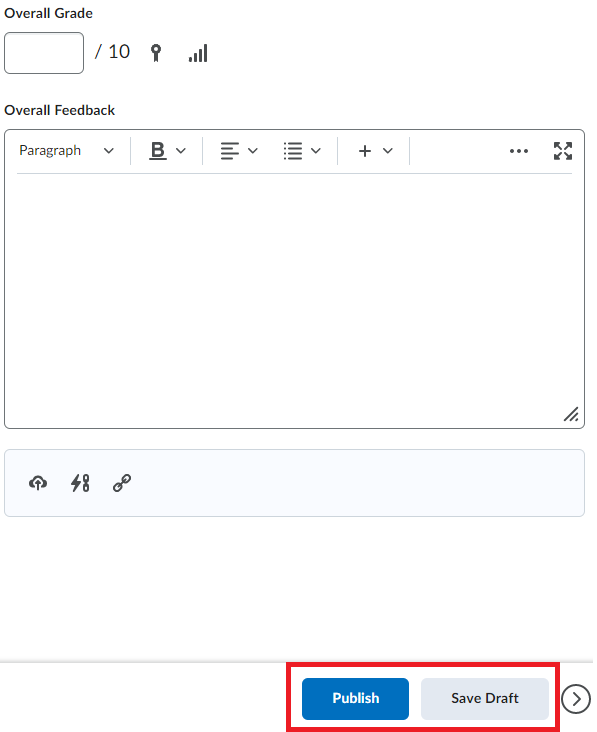
The moment you do select Publish, students will immediately receive their feedback.
If you wish to publish the feedback for multiple students in bulk, you can do this through the submissions overview (go to Assignments and then select the specific assignment). Here you can either select Publish All Feedback on the top of the page, or select students you want to publish the feedback of by ticking and unticking their boxes, and then selecting Publish Feedback in the options bar above the user overview.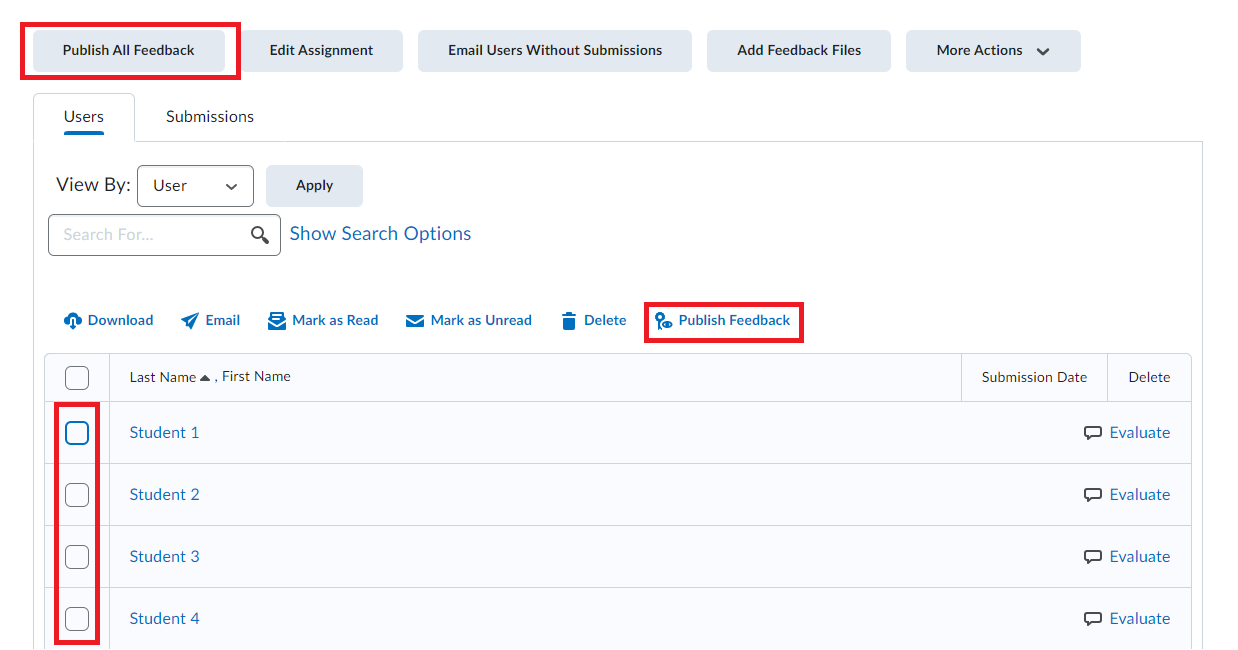
After publishing your assessment, you can still Update the assessment or Retract it. This will respectively update your assessment or retract it completely so the student will not be able to see the assessment anymore.
Other ways of assessing
Brightspace allows lecturers to give feedback on submissions in bulk. Brightspace will then condense all submissions into a .zip file. Lecturers can open this file, add their feedback, save the file and re-upload the .zip file to Brightspace. The evaluated file will then become an attachment to the student’s submission, and for the students visible as such.
Assessing in bulk:
- Go to the Submissions overview by selecting the specific assignment within Assignments. Make sure the Users tab is selected.
- Select the first box under the Download button, all student’s submissions should now be selected. Select Download and select Download again in the pop-up message.
- Extract the .zip file to a location of your choice, open the .zip file, select the specific submission you wish to assess and open the submitted work. In this file you can add your feedback/comments/notes.
- Save the file under the original file name, do this for all submissions, and Re-zip the folder (create a .zip file)
It is very important that no file or extension names are changed!
- Go to the Submissions overview and select Add Feedback Files in the top bar. Select Upload and pick the newly created .zip file. Select Add.
- Before the students can see the feedback provided, you will need to publish the feedback. See publishing feedback in bulk.
To standardize grading, making results fairer and more reliable, it is possible to make use of rubrics. A rubric is an answer model for assignments, usually in the form of a matrix or grid. It is a tool used to interpret and grade students’ work against criteria and standards derived from the learning objectives of the assignment. To read more about the use of rubrics and how to set them up, click here.
If you have a grade item attached to an assignment, it is possible to assess by directly using the gradebook. To do so, follow the following steps:
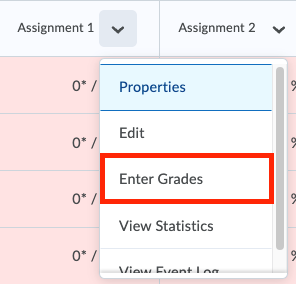
- Select Grades in the navigation bar of your course. Locate the specific assignment you wish to assess from the general overview, select the arrow next to the name and select Enter Grades.
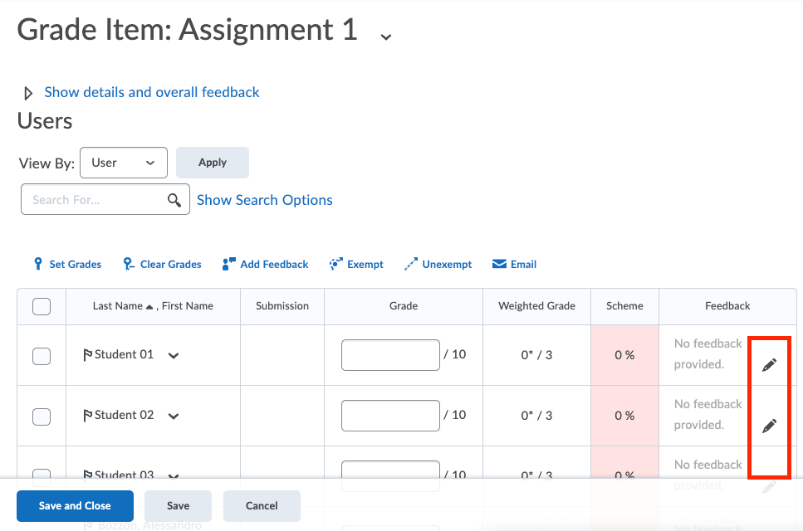
- You will now see a summary of all the students, their submissions, grades and feedback already received. Select the pencil icon on the right-hand side of the screen for the student you wish to evaluate.
- The pop-up screen is divided into two sections where you can add both text and images using copy/paste. Comments entered in the Feedback section are visible for the students while comments in the Private Comments section are only visible to everyone with grading permissions.
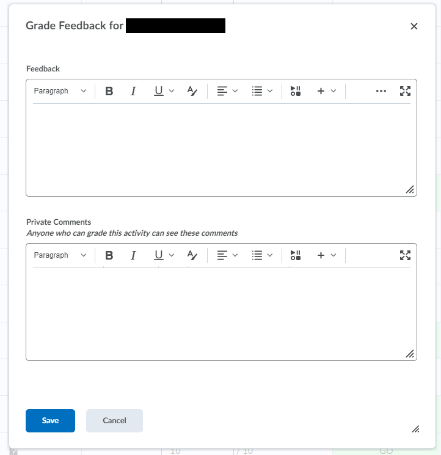
- Select Save to publish the feedback. This will be shared with the students immediately.
FAQ
When assessing an assignment using rubrics you can assess with multiple people. Seeing who gave assignment feedback is only possible if the assignment is graded with a rubric. If the assignment was graded with a rubric you can look for the assessor, the person who gave feedback, as follows:
- Go into the assignment tab
- Select the assignment
- Press on the name of someone who submitted an assignment
- Go to the: “Rubrics” Header on the right side of the screen.
- Press on the statistics icon.
- This brings up the: “Rubric Statistics” menu
- Go to: “Individual Statistics”, the third tab
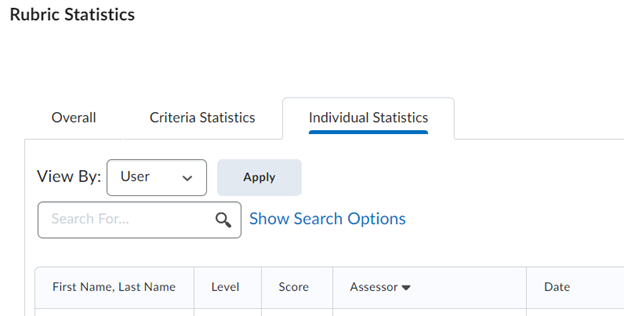
- The Assessor’s username will appear in the fourth column, this the name of the person who graded the assignment. The person who handed it in, their name appears in the first column.
Only the Assessor’s username will appear - To find their actual name go to Course Admin -> Classlist and then search on their username.