*An instructional video is also available for this topic. Scroll down if you wish to watch the video. *
We have seen from prior courses at the TU Delft that a great way to keep students engaged in your course is to add a simple checklist. Checklists are a well-known tool to ensure things are done properly. Items that you can add in the checklist can be as simple as “read this document” or “attend this lecture at this location, on this date and time”. These can be linked to the activities students are due to complete.
Click on the + to see how to use this feature:
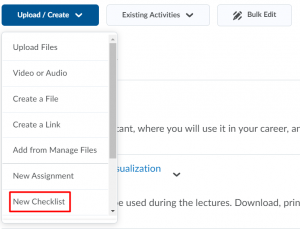
- Go to Content and click on the Upload/Create button
- Click on New Checklist. Here you give the checklist a title and basic instructions for students to get started
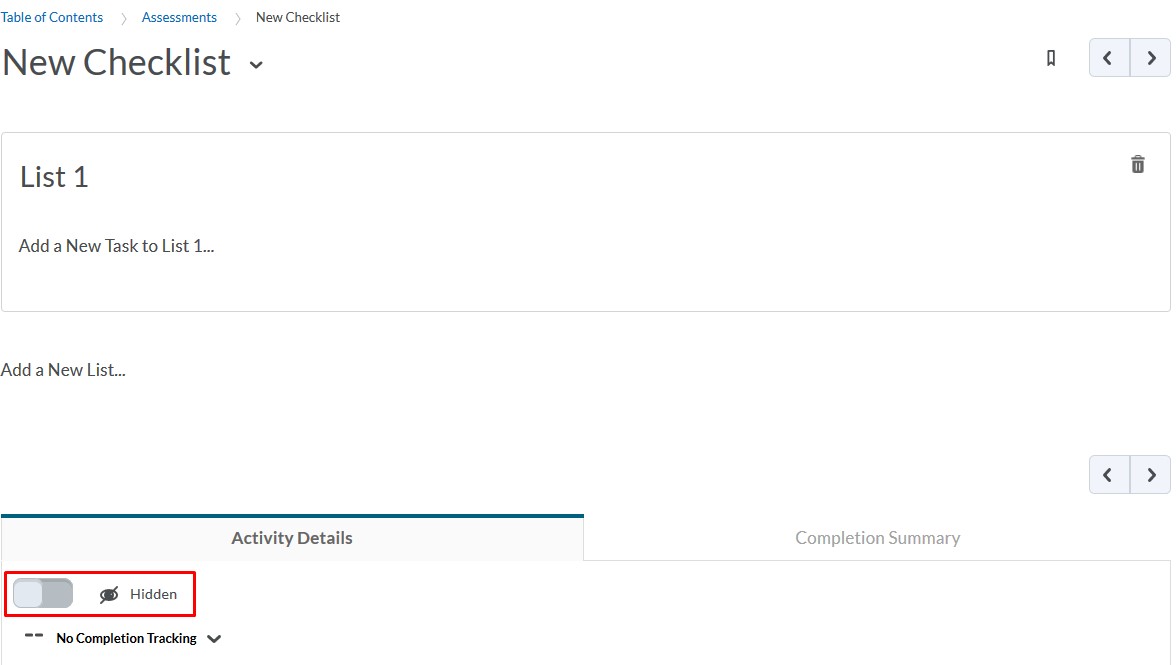
- Click on Save once you are ready. The checklist by default is set to Hide from Users mode.
- Hover over the words Add a new list and click on it to add a new list.
- Click and edit the sample titles (List 1). You could use for example “Monday” and then write down all the things you expect to be done that week by Monday. Or for example, “Lectures” and then detail the two or three lectures coming during that module.
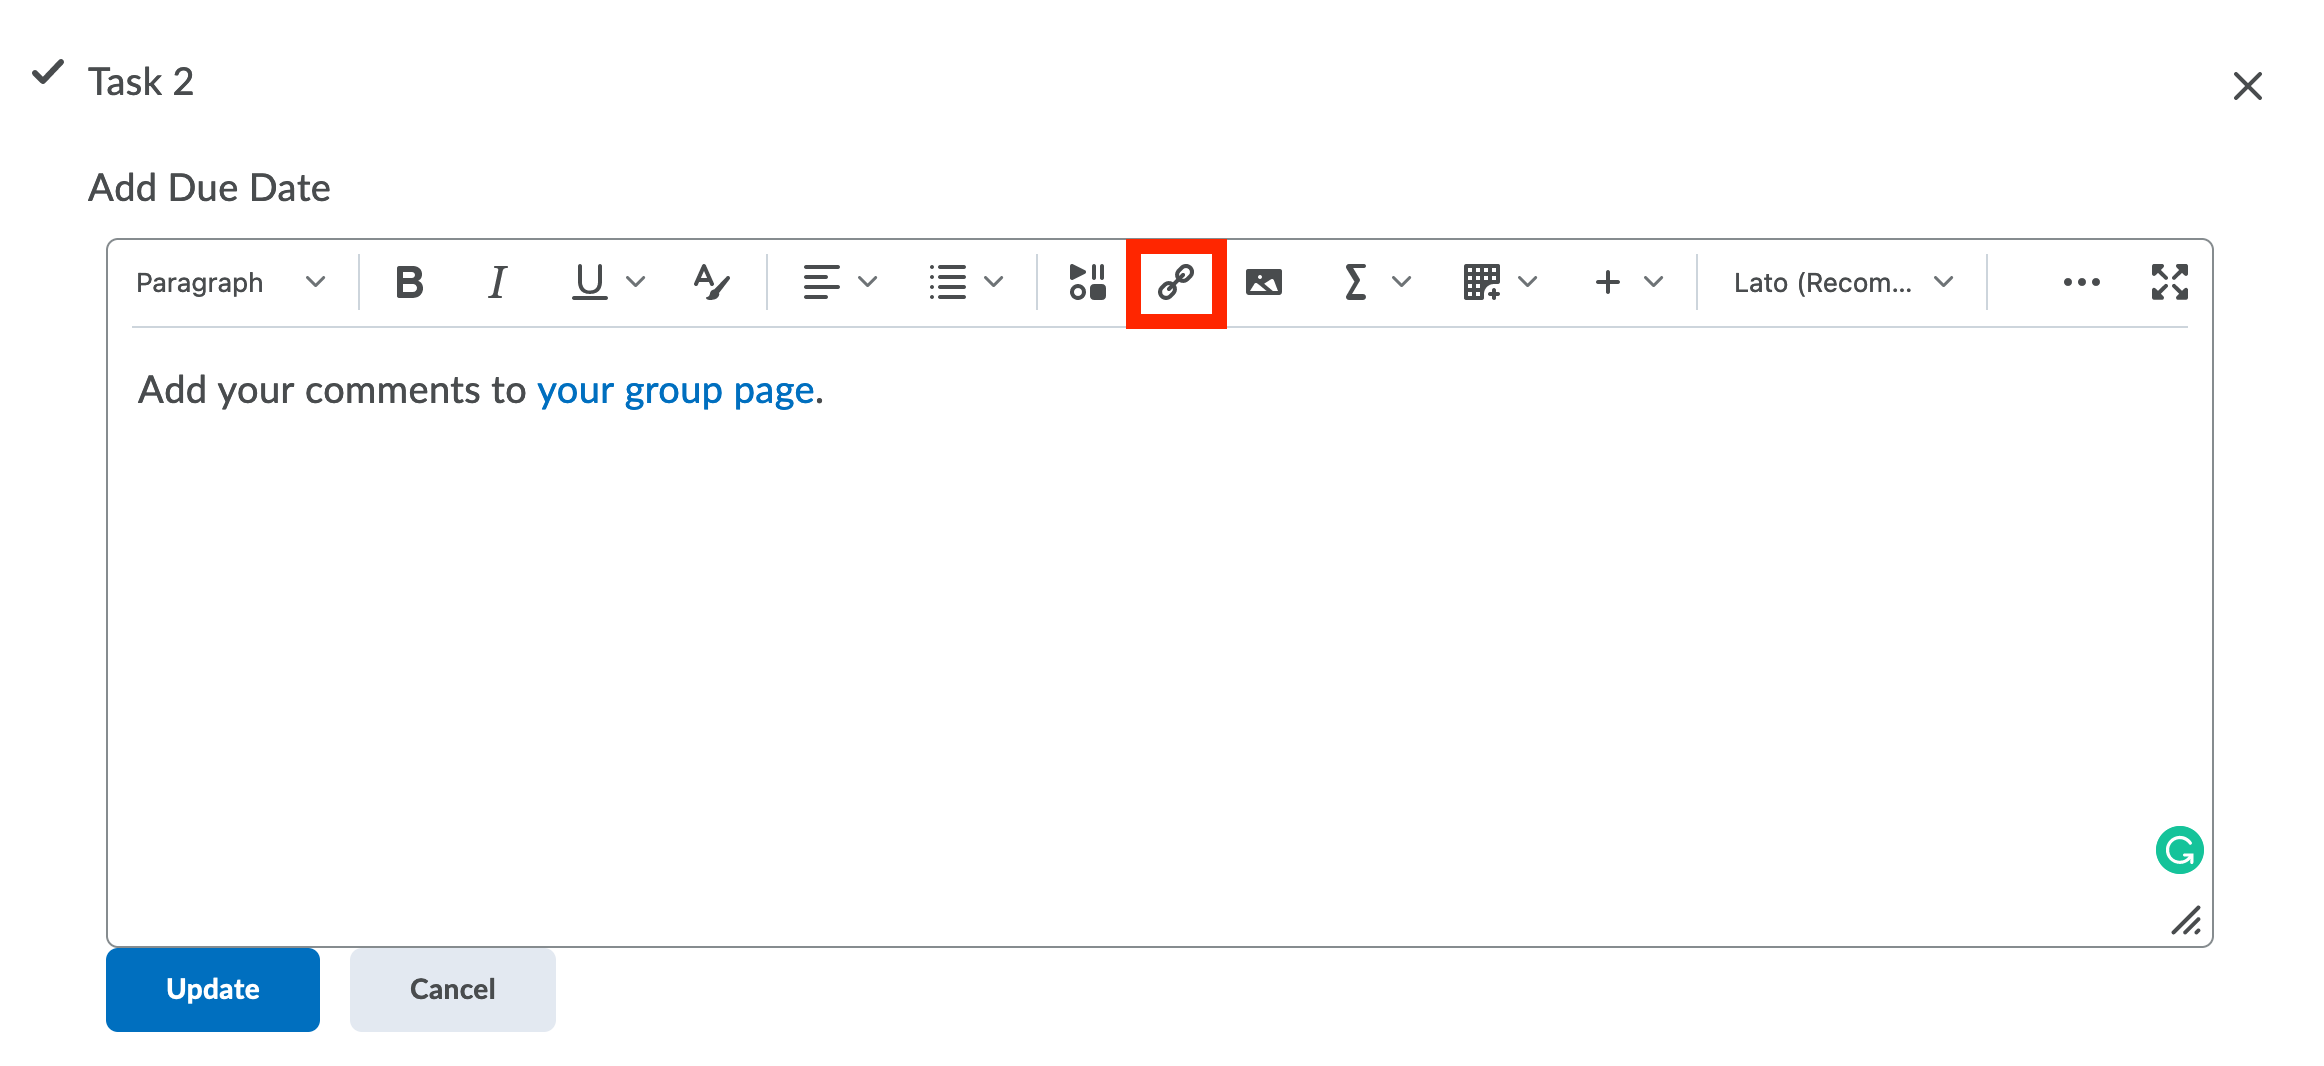
- Click Add a New task to List to add another task to your list. For these sub items you can add due dates and descriptions. You can even link to content items in the course using the Quicklink tool, as demonstrated here:
- Once your checklist is ready, you can make it visible to users by selecting Hidden icon so the icon says Visible.

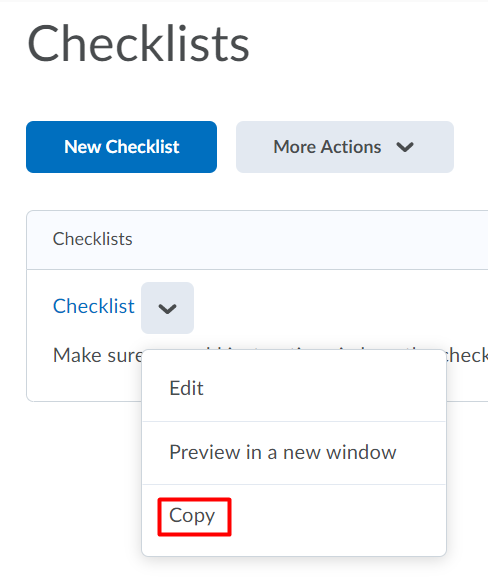
Instructors are able to copy previously created checklists and create a duplicate checklist. This feature enables the instructor to quickly create similar checklists.
- Go to Course Admin
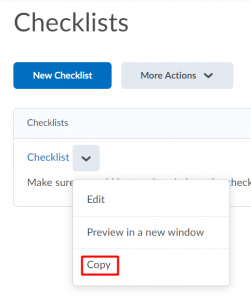
- Click on Checklists
- Next to the checklist you want to copy, click on the drop down menu
- Select Copy
It is possible to reorder a checklist that you made.
- Go to Course Admin
- Click on Checklists
- Click on the arrow next to the checklist where you want to change the order and Choose Edit.
- Scroll down and click on Reorder.
- Now you can arrange the right order for all the tasks using the dropdowns on the right
- When you are done, Click Save.
The advantage about these checklists is that you have these large headings to group items, with tasks that go into the checklist.
This is especially helpful to students so that they can see which assignments or other course materials they needed to complete directly from the checklist. Once they are done, they can come back to it and check it off.
How to use this to improve your course
Add a checklist within every module of your course, or every week of your course or at discrete points where it is appropriate. Students can then check off items as they go through the course, and it stimulates them to remain on top of all the material that you expect.