Assignments are a common activity in many courses and can be set-up in Brightspace. With this functionality students can submit files, pictures and text electronically, after which you or your assistants will review and grade them. You can also use Assignments for feedback when work is delivered in hard-copy or in another way outside the Brightspace environment or for when students are Observed in person (e.g. oral exams or presentations).
- Go to the (Sub)Module of your course where you wish to have the assignment. Click Upload/Create followed by New Assignment.
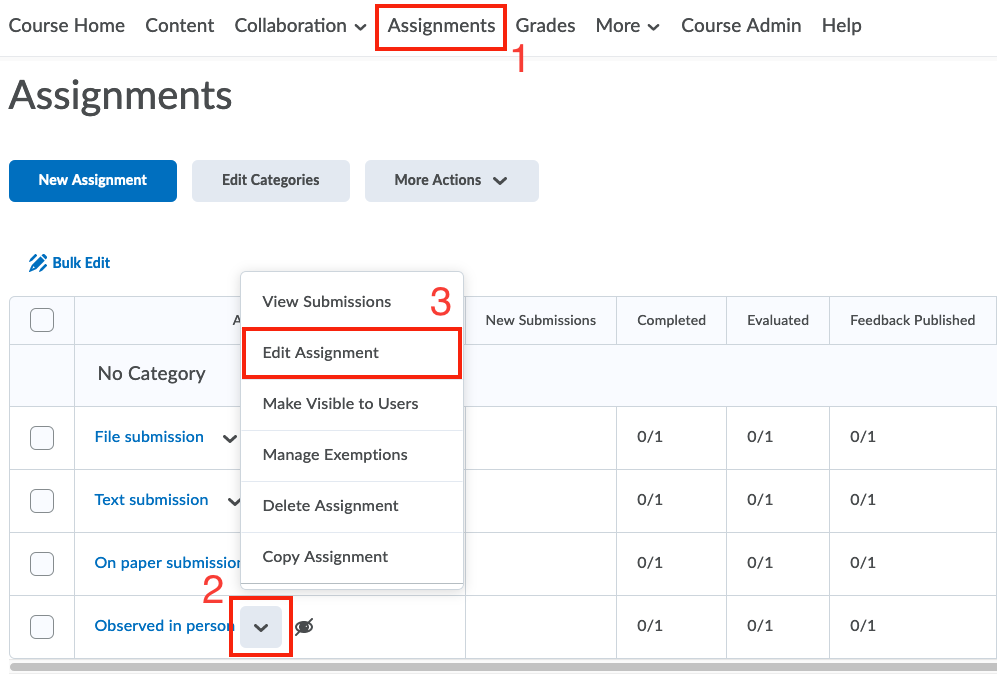
- Alternatively, in the navbar, navigate to Assignments and click on New Assignment.
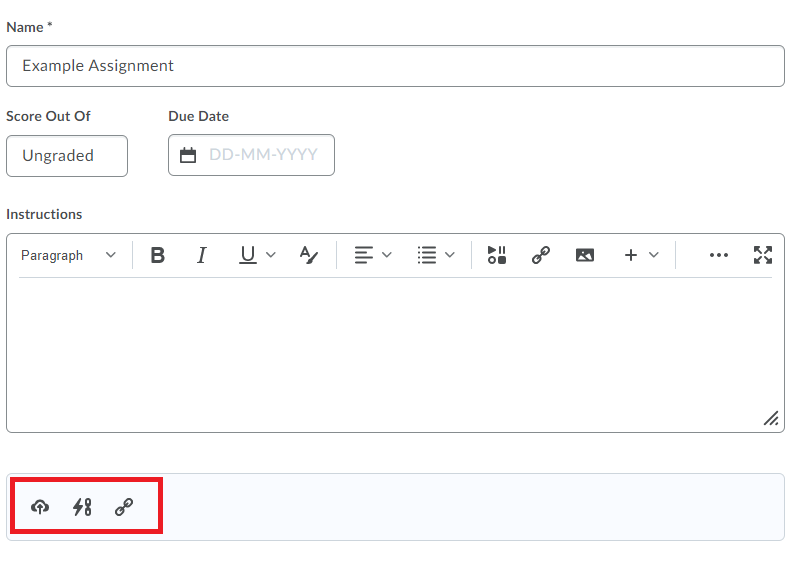
- Give the assignment a Name.
- Optionally, associate the assignment with Brightspace Grades.
- Optionally, set a Due Date (The last date and time at which students can submit without it receiving the tag ‘late’). Setting a due date is recommended. Doing so will create a calendar entry in the course schedule, so students see the deadline coming up.
- Optionally, add Instructions
- Optionally Add Attachments. When an attachment is added, it is recommended to refer to the attachment in the instruction so that students know where to look for that document.
- Choose whether or not you want to make the assignment Visible for students. It is recommended to hide the assignment until all settings are configured.

- Optionally set Availability Dates & Conditions.
- Optionally configure the Submission & Completion details.
- Optionally configure the Evaluation & Feedback.
- Click Save and Close
- After you have configured the Assignment you can make it visible to students by Clicking on the switch:
- The students can now see the assignment (depending on the restrictions and release conditions you set). If you entered a start date, they will see when the assignment starts.
Upon submitting the assignment, the student will receive a confirmation email.
- To end, you can create an announcement for your assignment. Follow this instruction on how to create an announcement. In this announcement, you can link directly to the assignment by selecting the text you wish to hyperlink and using the Quick link icon . Students will receive a notification with a hyperlink so that they can directly access the assignment.
As long as no submissions have been made, your assignment can be modified without the need of creating a new one. After you have Saved the assignment this can be done by going to Assignment in the course menu, Clicking on the arrow next to the assignment on which you want to change the option and then Clicking on Edit Assignment.
These steps can help you to link your Assignment to the Brightspace Gradebook or add a grade outside the Gradebook. Both are not mandatory.
If you want to link your Assignment to the Gradebook:
- Create the grade item in the gradebook ahead of time.
- In the assignment, the default setting is Ungraded. To associate your grade item with the assignment, click on Ungraded and then select Edit or Link to Existing.

- Select Link to an existing grade item.
You will be able to select your predefined grade item from this drop-down menu. Alternatively, you can make a new grade item by selecting Create and link to a new grade item.
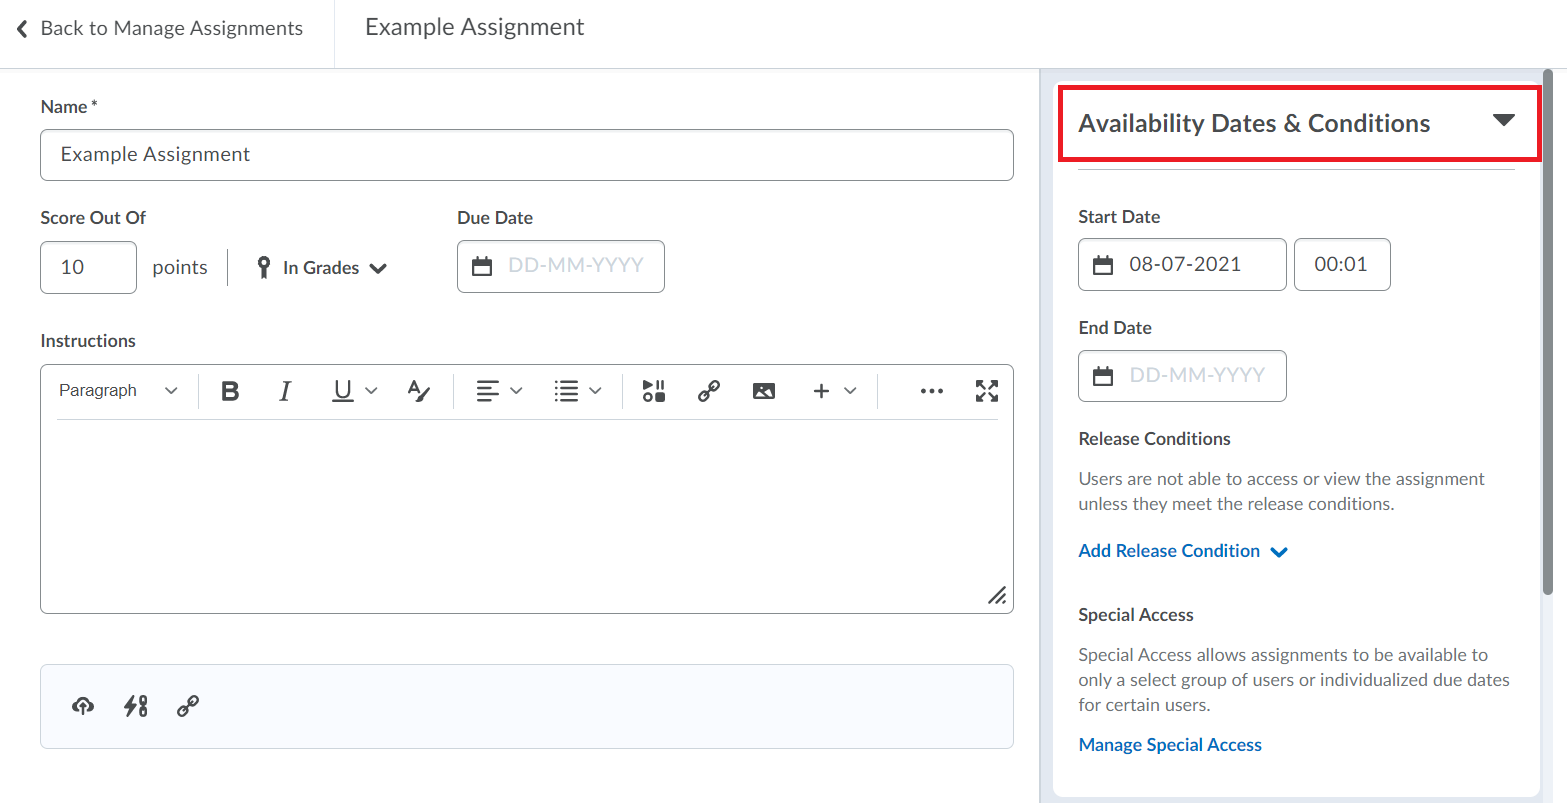
To introduce start and end dates, or features such as release conditions or special access, navigate to the right-hand panel and select Availability Dates & Conditions.
Assignment:
Here you can do one of the following things:
- Fill in a Start date (when the assignment becomes available to students) and an End date and/or Due Date.
The Due date and End date are two separate dates. If your due date is planned before your end date, students will still be able to hand in the assignment until the end date. However, if a student hands in the submission after the due date, it will be marked as late.
If your due date and end date are planned at the same moment, students will not be able to access the assignment link anymore after this time and will not be able to submit their assignment and/or return to their submitted assignment. Leaving the end date empty will make it so that students can always submit the assignment, but every submission after the due date will be tagged as late. - Set Release conditions.
After release conditions are set, you are able to change them. If an assignment has an associated grade item, the assignment release conditions synchronize with the associated grade item. If an assignment and a grade item have linked release conditions, the Restrictions tab of the grade item shows an information message that states that the release conditions have to be managed through the associated assignment. This message also includes a link to the relevant assignment.
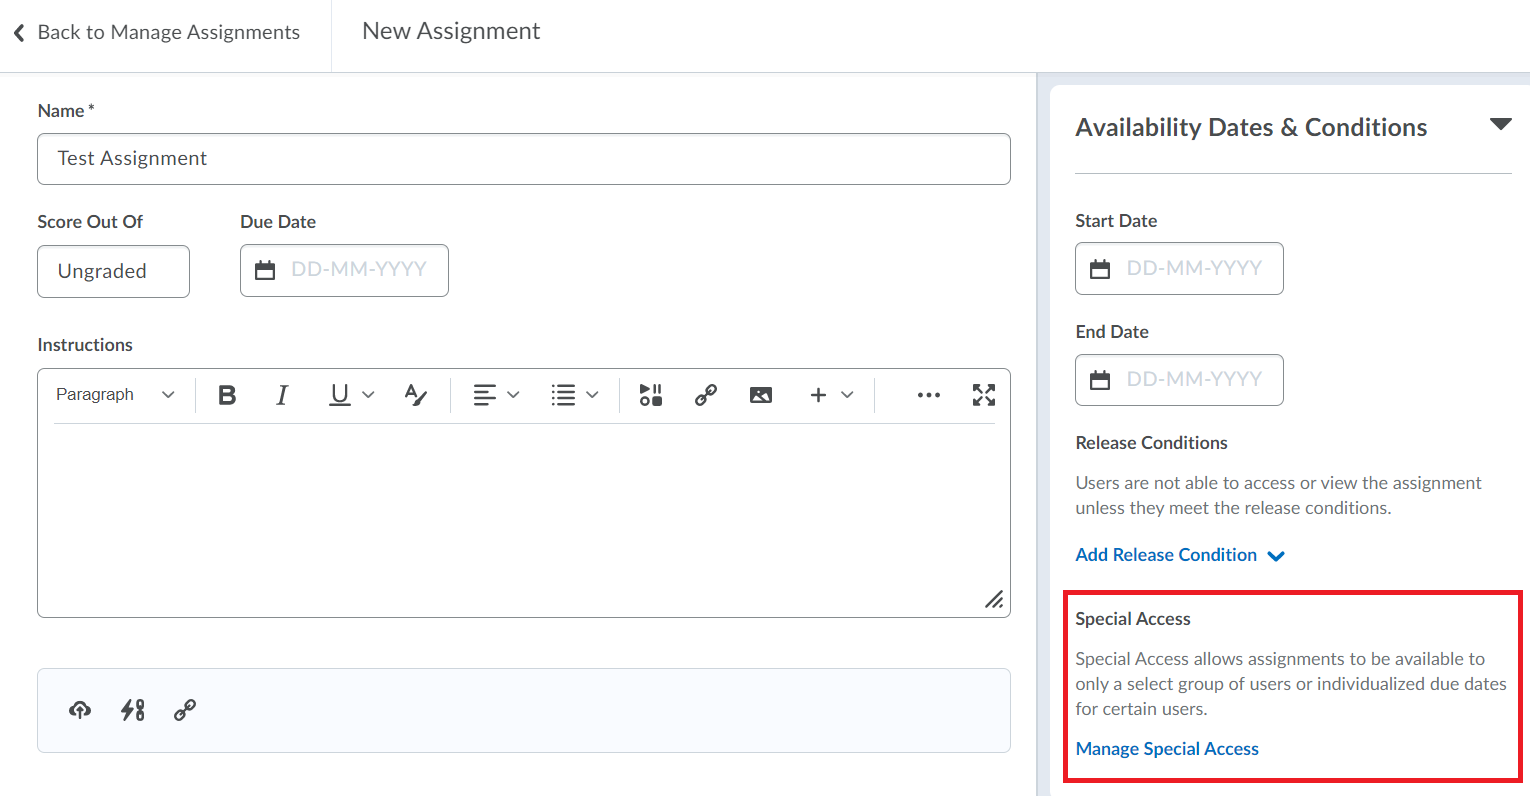
- Give special access to groups or individual students.
Follow these steps to open the assignment to only a selected number of students:
- Go to Assignments and select the arrow next to the assignment name to be able to Edit Assignment.
- Click on Availability Dates & Conditions.
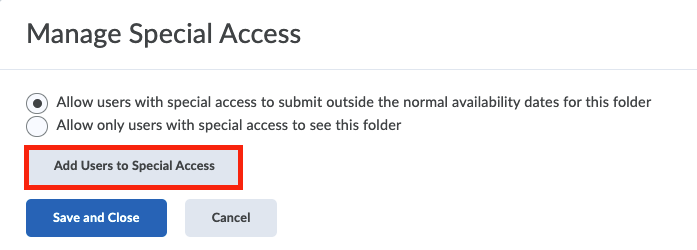
- Click on Manage Special Access
 The restriction dates and times that you see here, should match what you have set in your assignment earlier. Don’t alter these yet. Scroll a little bit further down and use the special access area.
 - Check the first box: Allow users with special access to submit files outside the normal availability dates for this folder.
- Then click Add Users to Special Access and alter the due date for the users you wish to give special access to.
 Do not, for the same reason as mentioned earlier, use the end date. Simply adjust the due date. The default due date shown will be the existing due date for the assignment. If you’re giving them extra time for example an extra week, select it and select the students for whom this applies.
 - Click Save. Those students will then be shown in the summary below to have that special access to the folder for the additional time. If those students who you’ve given special access upload work prior to their new special end date, their work will not be marked as late. If they submit after that “special” due date of course then it will be marked as late. In this way, you can control the access for submissions for the majority of your class as well as make exceptions for students in a straight-forward way. The summary list of students who have been given special access will remain in this page, for future reference.
-
To adjust the submission & completion settings, navigate to the right-hand panel and select Submission & Completion.
Note: if you are not in de assignment creation screen, the only way to edit an existing Assignment is by going to the Assignment menu in your course, click on the arrow next to the Assignment you want to edit and choose Edit Assignment.

Here you can do one of the following things:
- Choose between a Group or an Individual assignment.
- Set the assignment to be in a Category.
- Choose the Submission Type:
- File submission: digitally submitted document where an attachment is required. Feedback, annotation, evaluation and grading can be completed in Brightspace.
- Text submission digitally submitted text without attachment. Feedback, annotation, evaluation and grading can be completed in Brightspace.
- On paper submission: hard-copy document in person submitted to instructor. By making an assignment; feedback, evaluation and grading can be completed in Brightspace.
- Observed in person: for example a presentation. This type also allows for feedback, evaluation and grading in Brightspace.
If you have chosen File submission or Text submission you have to make sure the Options are correctly set. Click below Options to change them:
- Files allowed per submission (File submission only) If you choose the File based submission, you will have two options: Unlimited files or One file per submission folder. Choose between the two depending on if students should submit one or multiple files. But please make sure your students are aware of the warning described below.
A pitfall exists when allowing for multiple documents to be attached and defining the most recent submission option. This combination is a problem when students work in groups and, for example, student 1 submits document 1, and student 2 comes and submits document 2 (because they have divided the work). In this case, only that second document, submitted by the 2nd student, will be kept. In this situation, please inform your student groups that when they resubmit work, the last person to submit should submit all the groups’ documents.
- Allowable File Extensions (File submission only) Here you can choose what type of file extensions are allowed to be used. The options are: No Restrictions (Default option), PDF Only, Annotatable Files, Files that can be previewed without conversion, Images and Videos or Custom File Types. If you choose Custom File Types you get the option to enter the desired file extensions.
- Submission Options Choose one of the following options:
The option “All submissions are kept” could lead to confusion as it might be unclear for the lecturer or TA which file to grade. The option “only the most recent submission is kept” minimizes this potential confusion.
- All submissions are kept: when students resubmit multiple times; all their submissions are kept.
- Only the most recent submission is kept: Since students might submit drafts, or incomplete work at first, this gives them the chance to resubmit multiple times. The previous submissions are not shown to you or your TA’s.
- Only one submission allowed: this is the most restrictive and gives students one single opportunity to submit their work.
To adjust the evaluation & feedback settings, navigate to the right-hand panel and select Evaluation & Feedback.
Note: if you are not in de assignment creation screen, the only way to edit an existing Assignment is by going to the Assignment menu in your course, click on the arrow next to the Assignment you want to edit and choose Edit Assignment.
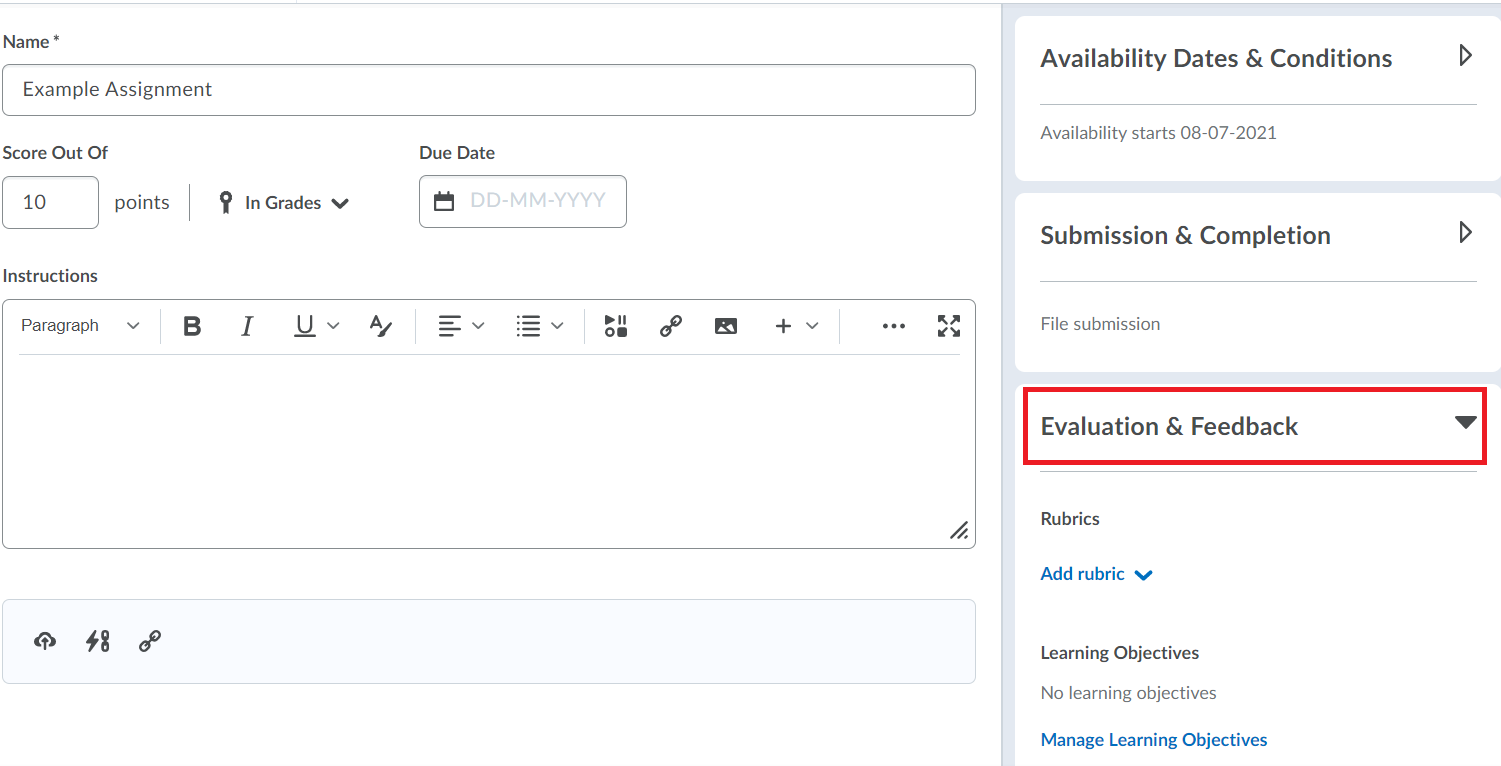
Here you can do one of the following things:
- Add Rubrics. Check this page if you want to know how to use Rubrics and how to create them.
- Associate Learning Objectives.
- Make Annotation Tools Available for Assessment.
- Turn on Anonymous Marking.
To avoid unconscious bias in the grading and feedback process, instructors can configure assignments to use anonymous learner names.
-
- When the feature is turned on, instructors can only see an anonymized learner name on the assignment submission and the user names are revealed to instructors once feedback is published. Once anonymous marking is selected for an assignment folder, students will be presented anonymously to all Brightspace roles with permission to provide feedback.
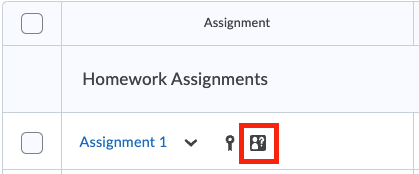
- Once the setting of the assignment submission folder has been completed, go back to the assignments list. Attached to the specific assignment, an icon confirms that the anonymous marking has been enabled.
- On the navbar, click Assignments.
- On the assignments page, click More Actions.
- Go to the Event Log.
- For every assignment you want to restore, click the Restore button.
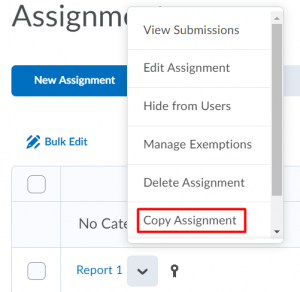
Instructors are able to copy previously created assignments and create a duplicate assignment. This feature enables the instructor to quickly create similar assignments.
- Go to the dropdown menu next to the assignment you want to copy.
- Select Copy Assignment.

You can find all settings by going to the Assignment in the course menu, Clicking on the arrow next to the assignment on which you want to change the option and then Clicking on Edit Assignment.
Check the Ouriginal page to see how to set this up. Using Ouriginal allows you to check assignments for plagiarism, grade them and give in-text feedback to students.
Assignment View
Once you have created the assignment you can go to the Assignment view by Clicking on Assignments in the course-menu. This overview allows you to quickly determine if there are new submissions, what assignments you need to evaluate, how far along you are with the evaluations, and check if you have published the evaluations. Also, you can edit or delete categories if needed.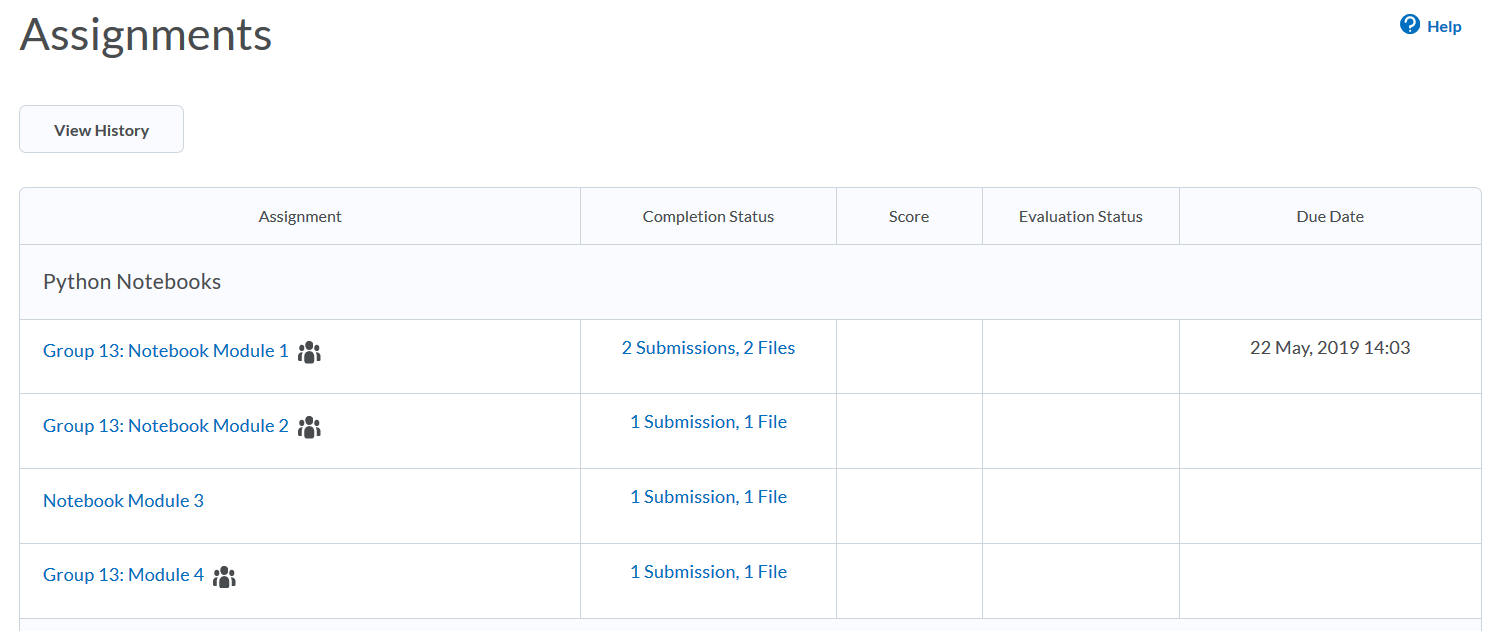
Feedback and grading
Click on the links below to learn more about giving Feedback and Grading:
FAQ
The first thing to note about assignments is that you can specify Start dates and Due Dates:
- The start date and time indicate when students are able to click on the link.
- Prior to the start date, students will see the link’s name but cannot access the link or the content associated with it.
- Between the start date and the due date, they can read the link, see what they have to do for the assignment, and upload their work until the due date.
- After the due date, they will still be able to see the link, access it and upload their work. However, any work uploaded after the due date will be marked as “late”.
If an assignment is handed in after the due date, you will see the following:
![]()
You can also find an explanation on setting availability dates here.
Yes, you can give some students special access to assignments. You can find more information here.