*An instructional video is also available at the end of each section for this topic. Scroll down in each section if you wish to watch the video. *
It is possible to send an email to your entire class or a subset of your class.
- To mail the entire class, click on Course Admin and then go to Classlist.

- Click on the button Email Classlist to open a new email window.
 In this new email window, you can add your message, modify the subject, add attachments and send that message along.
Notice that all the students are placed in the BCC, this is intentional so that the email addresses are not shared. Also note, large attachments cannot be added to the message. There is a limitation on the total message size in Brightspace. This cannot be changed.
To distribute large attachments by email, rather upload them to the course content area of your site, and then create a Quicklink to it.
It is also possible to email a subset of your class. This can be done from the Classlist or from the Groups page.
- Go to Course Admin, and then go to Classlist. Here you can filter the list based on certain criteria. For example, you might wish to only email students in one particular group.
- Select Show Search Options to define your search. Once you have filtered the list to your liking, you can then select all the search results by checking the checkbox at the top. All the students that correspond to the search filter will be selected.
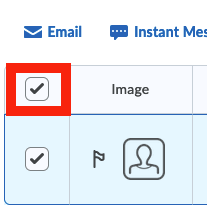 There is one thing to be aware of, on very long lists, there is a dropdown at the bottom that may shorten the number of students you expect. Check that there are not students that you have left off. That way, when you click the checkbox up at the top of the screen, all the students that you intend to message are going to receive your e-mail.
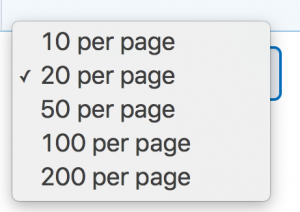
If you still need further fine-tuning, you can select and un-select various checkboxes.
- When you are ready, click Email and you can type a message. The student names will appear in BCC, there is no need to fill in the TO field.
- Adjust your subject, if necessary, and when you are ready, click Send.
There are also other options to email students, for example if your course uses Groups, Assignments or Grades Tool:
- Under Groups you can select one or more groups to email. For example, if you are the coach for group one, two and three, you can select those groups.
- Click Email and all the students, only the students within those groups, will receive your message.
In a similar way, under Course Admin and then under Assignments, it is possible to email students who have not submitted a certain assignment. For example, you can select students without submissions asking them to please submit before the deadline. One other place of note is in the Grades tool. Here it is possible to email students that need to be notified of grades.
Sent emails are automatically saved in the Sent Mail folder. Check the accordion to read how you can view sent mails.
To view all sent emails from Brightspace, follow the steps below.
- Go to a course in Brightspace.
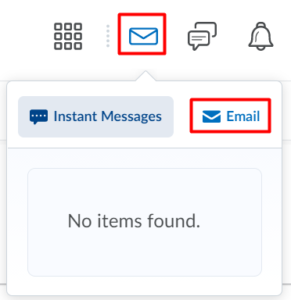
- Click on the Email-icon icon at the top of the page and select email
- Click on Sent Mail on the right-hand, just above the “To” field of the email.
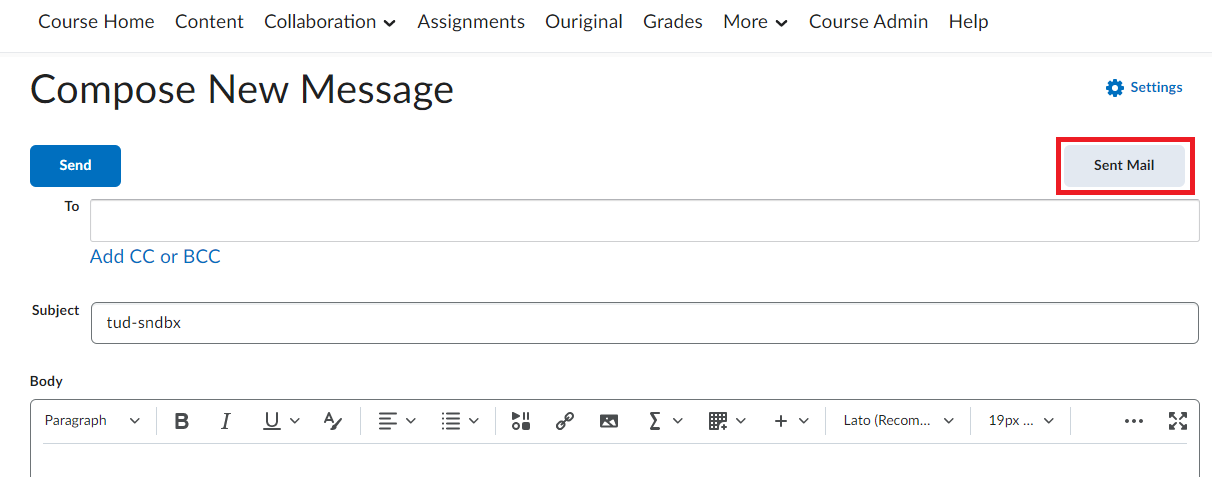
It is advised that you do not delete these, just in case you need to reference back to them, if you did not send yourself a copy of the email.
It is preferred to use the Announcements tool to contact the entire class at once. The latest announcement will appear on the course home page, clearly visible to all students. Students with external accounts (registered at other universities) who are taking courses at TU Delft are not able to receive emails from Brightspace.
Also, please avoid sending emails to your class if you have a large number of students enrolled – the system might filter it as spam (just like marketing emails). On that note, here are a few guidelines for emails sent from Brightspace. These guidelines will help you avoid having your emails ending up the students’ spam mailboxes*:
- Check your email for spelling and grammatical errors.
- Avoid using different fonts and colors in the email.
- Never disclose anyone’s personal details in the email. Personal details include any information that can be used to identify an individual.
- Avoid adding attachments. Rather insert a link to the file (or other content item) in your course.
- Use normal HTML and avoid including other scripting languages in the text.
- Include a descriptive subject line for the reader to identify what the email is about.
- If possible, include the name of the receiver of the email in the text.
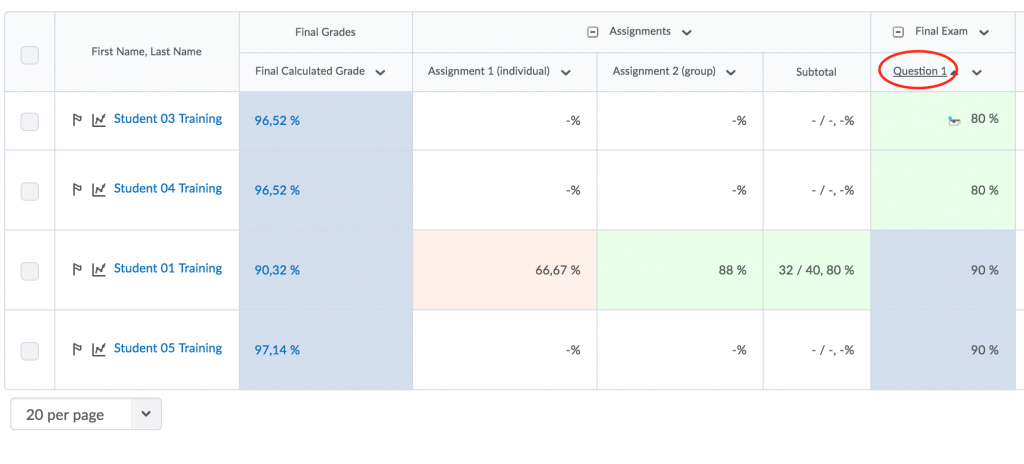
You can use the Email tool in your course for targeting specific issues, such as informing the students of cancelled classes. Or, email underperforming students directly from the Gradebook, where you can sort grade columns from low to high or from the Class Progress section (see this page for more detail).
*based on Factsheet FS-2015-05 by the Ministerie van Veiligheid en Justitie
How to use this to improve your course
- When selecting your students, be aware that on very long lists, there is a dropdown at the bottom that may shorten the number of students you expect.
- Check that and set, if necessary, to the highest number, to make sure that all the students that meet your criteria are on that list.
- Rather use email when you are focussing on a targeted subgroup of your students.

