MS Teams Webinars allows you to have a controlled interactive meeting with up to 1,000 participants. If you have under 300 participants, you should consider a normal Teams Meeting. The difference with normal Teams Meeting is that Webinars are more controlled and that the participants have clearer roles. Also, a Webinar requires attendees to register. Webinars differ from Live Events in the fact that participants are able to interact with the presenter; in Live Events participants are only allowed to listen, watch and participate in a moderated Q&A. With the webinar you are able to track registration for the event.
Teams Webinar doesn’t comply with your needs? Have a look at and compare other online meeting tools.
Before Your Webinar
What you need to know about Webinars
- Organizer: schedules the meeting, adds Presenters and invites Attendees. The Organizer is a Presenter during the meeting.
- Presenter: can present. It is possible to have multiple Presenters within a Webinar. These presenters can also be guest presenters without an MS account.
- Attendee: can watch and share audio or video if allowed by the organizer. Also, an Attendee is able to ask questions in the chat.
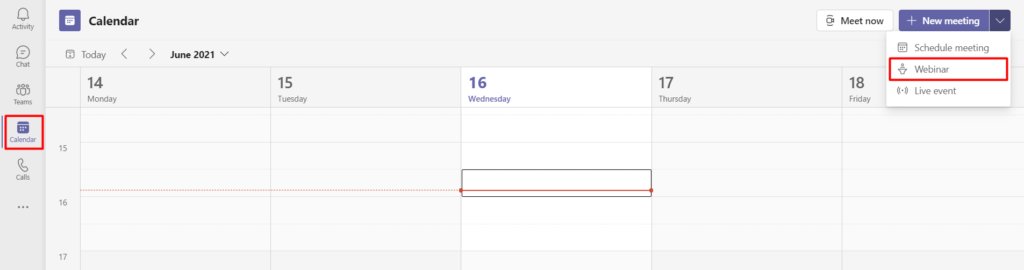
A Webinar can be scheduled via the Calendar within MS Teams:
-
- Go to Calendar, select the drop-down menu next to New meeting option and select Webinar.
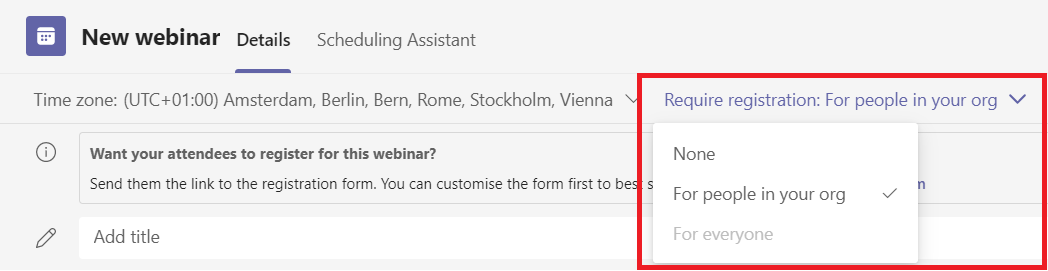
- Make sure Require registration is set to For people in your org.
 This option is what makes a Webinar different from a normal Teams Meeting.
 - Optionally change the Response options.
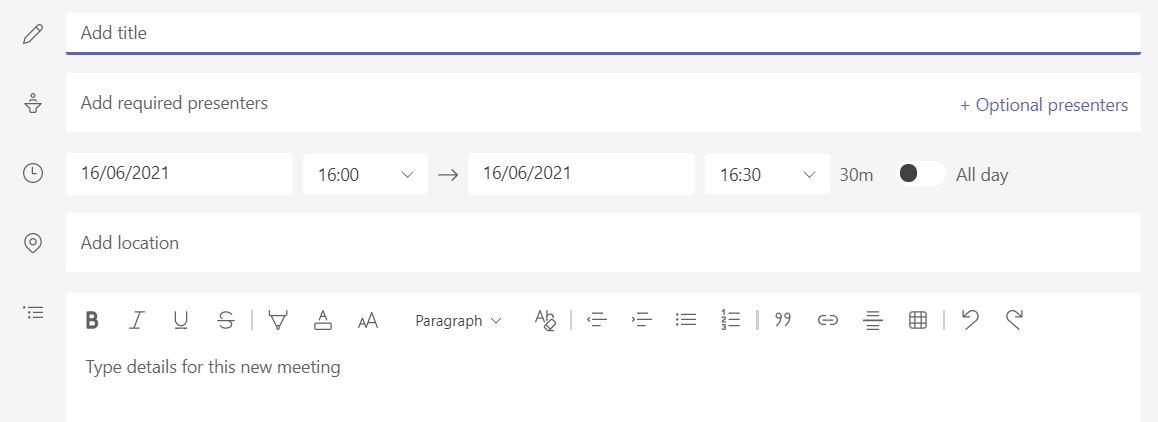
- Give the meeting a Title, Add required presenters/Optional presenters and fill the Date/Time of the meeting. Optionally give the meeting a Location and a Description.
It is not possible to schedule a webinar repetitively.

- Click on Send on the top-left and double click on the meeting in the calendar to edit the meeting again. Now you will have more options.
- Go to Meeting options (next to the Time zone. If this is not visible, click on the 3 dots).
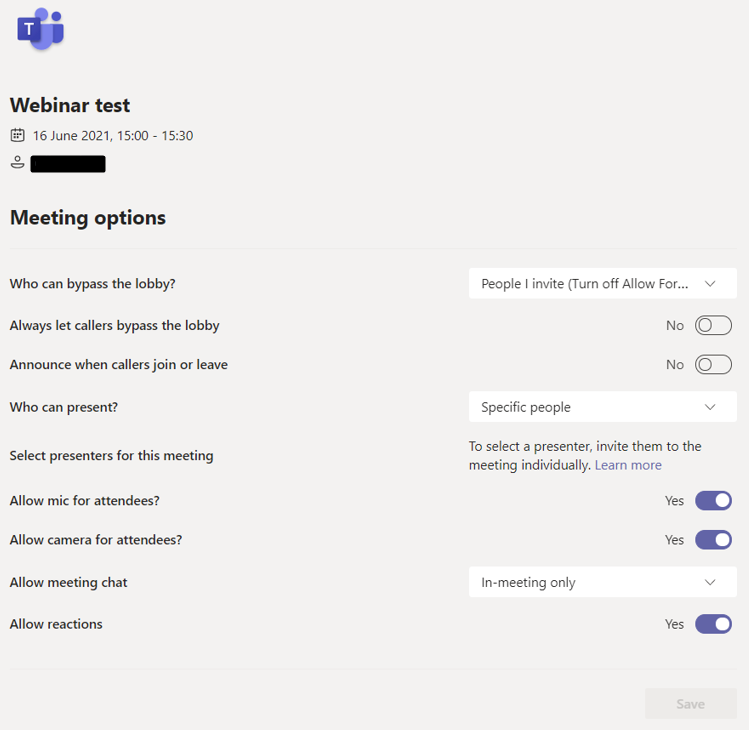
Within meeting options, you are able to set certain options before your Webinar starts.- Choose who has to wait in the Lobby.
- Choose Announce when callers join or leave to No.
When this is set to Yes, it will give a very annoying beep every time someone comes in. - Choose Who can Present.
This can also be done during the Webinar. - Choose whether attendees are able to turn on their sound (Mic) and video (Camera).
- Choose if you want to enable chat. If you select In-meeting only, the participant will only be able to use the chat while the Webinar is running, presenters will be able to use the chat outside the meeting as well.
- Go to Calendar, select the drop-down menu next to New meeting option and select Webinar.


- Set the registration form
To attend, attendees have to register for the event. A registration form is created to track attendees. Presenters that are added to the meeting do not have to register for the Webinar. Read more about the Registration form. - After setting the registration form, click on Copy registration link to get the link where attendees can register.
Make sure this link is sent to potential attendees. For example by E-mailing the classlist of your course in Brightspace. - Click on Send Update on the top-right. As you entered Required presenters and Optional presenters, these will automatically be invited via e-mail.
Registration is required when organizing a Webinar. At the TU Delft it is only possible to set Require registration to For people in your org (e.g. within the TU Delft). When setting this to None, it will become a normal meeting. You can customize the registration form.
- Click on Customize registration form to edit the registration from.

- Here, you will see the following menu. Here you can add the Event details that participants see, add a header image for the registration form and add additional fields to the registration form if you want to ask for additional information.
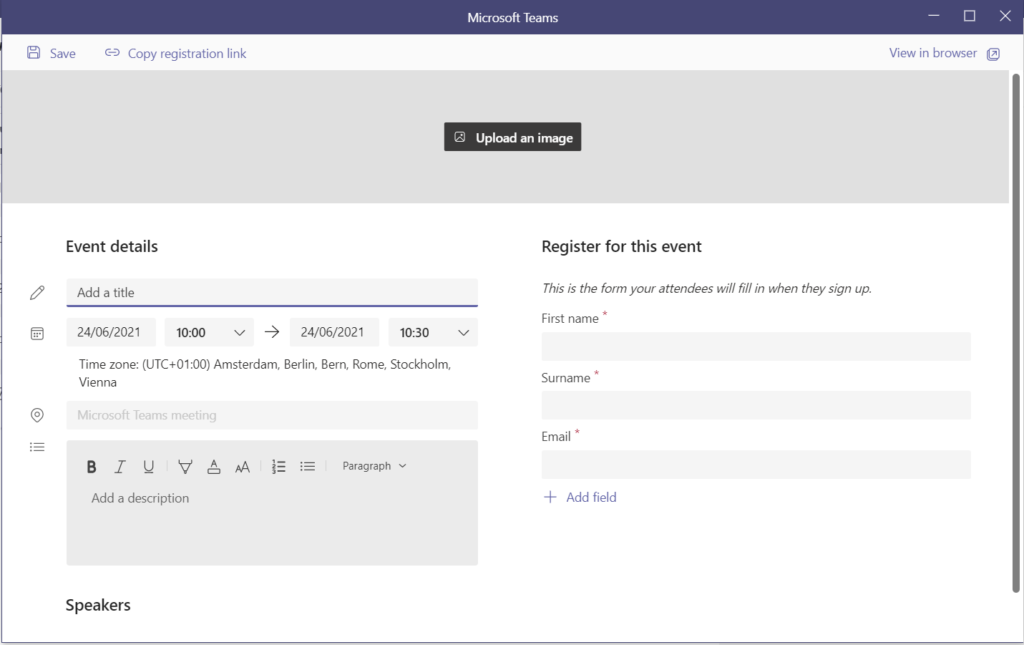
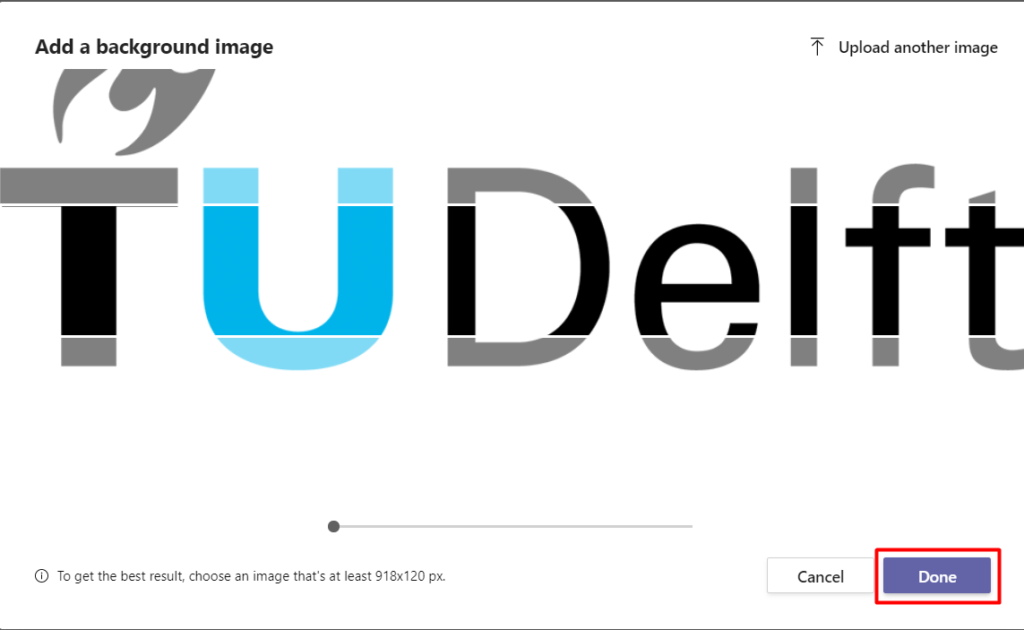
- To add a header image, select Upload an image, upload an image and select Done.
- To ask for additional information, click on Add Field. You will see various options that you can add to the registration form. Select the field that you want participants to fill and check Required if you want participant to fill this field in order to complete the registration.
- Optionally click on Add speaker to add who will speak at the webinar and what they will be talking about. This is content that is meant to inform participants. The speakers need to be added as presenter. See Setting up a Webinar.
- Click on View in browser on the top-right to preview the form.
- When satisfied, click Copy registration link. And send to invite students to register for the webinar.
- When you are satisfied with the way the registration form is set up, you can Save the form at the top left of the menu.


Using the Registration link or following an invite, attendees are able to register. They will see the following (this changes according to the options you have selected in the registration form options):

By registering for the event, the attendees will receive a link to be able to join the webinar.
To get the link to the Registration form:
- Open the meeting by going to the Calendar in Teams, double clicking on the Appointment.
- Click on Copy registration link at the top.
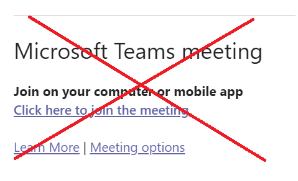
The link in the meeting details field at the bottom is the link for presenters, not for attendees!
To see who registered:
- Open the meeting by going to the Calendar in Teams, double clicking on the Appointment.
- Click on the Registration-tile to download the Registration list.

- Open the downloaded Excel to see who registered.
During Your Webinar
Check the page on online meetings for info on:
By registering for the event, the attendees will receive a link to be able to join the webinar.
According to the settings you have selected in the Meeting options you will be notified when an attendee wants to join the webinar and is waiting in the lobby. If you have selected certain people that can bypass the lobby in Who can bypass the lobby? or if you selected Always let callers bypass the lobby you will not get notified but they will automatically join the webinar.
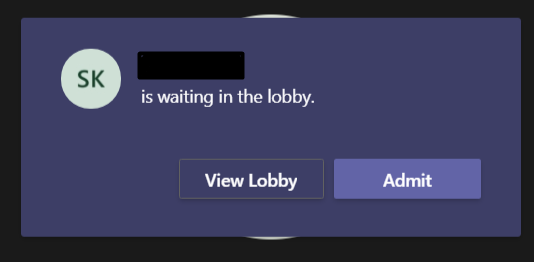
You can also deny or accept people by going to the participant list.

Here you can see who is waiting in the Lobby and you have the option to Accept (checkmark) people to the webinar or Deny them (cross).

When creating the Webinar, you have determined who can present. The Presenter can share audio, video and/or a screen.
When the Presenter shares, it is immediately visible for attendees. In case of multiple presenters, the second presenter will automatically take over when he/she shares his/her screen.
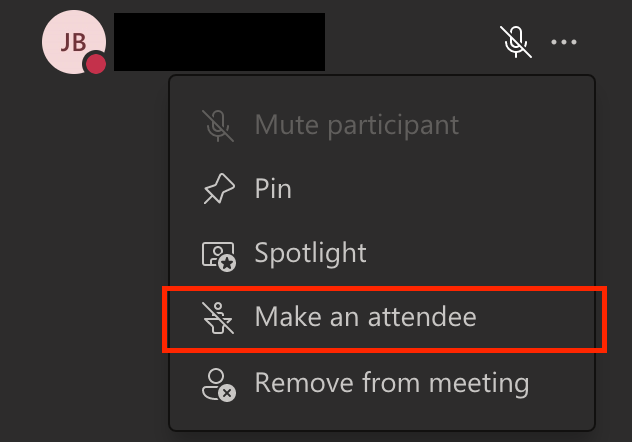
If you have added a Presenter but don’t want this presenter to have the role any longer and vice versa, you can change it. Go to the participant list and click on the three dots next to the person whose role you want to change. You can then choose the option to change the role of a presenter to an attendee or vice versa.

MS Forms can be used to initiate polling within the webinar. Attendees will be able to answer polling questions. Add forms to the webinar by clicking on the 3 dots, selecting Add an app and clicking on Forms and finally select Save.
You will now be able to see the Forms icon at the top of the screen.
![]()
-
- To create a poll, click the Forms icon and click Create New Poll in the screen that pops up.
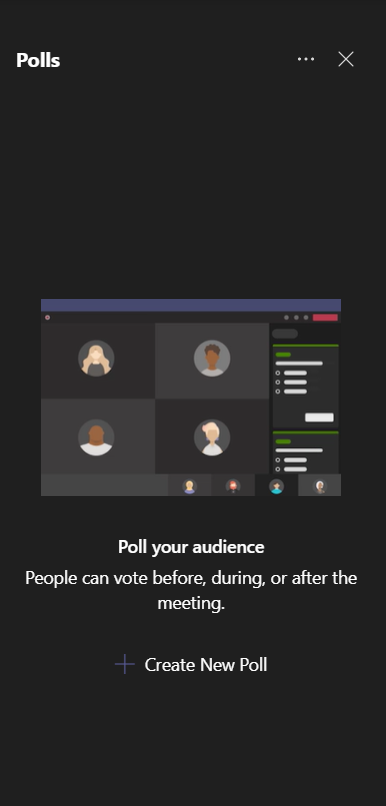
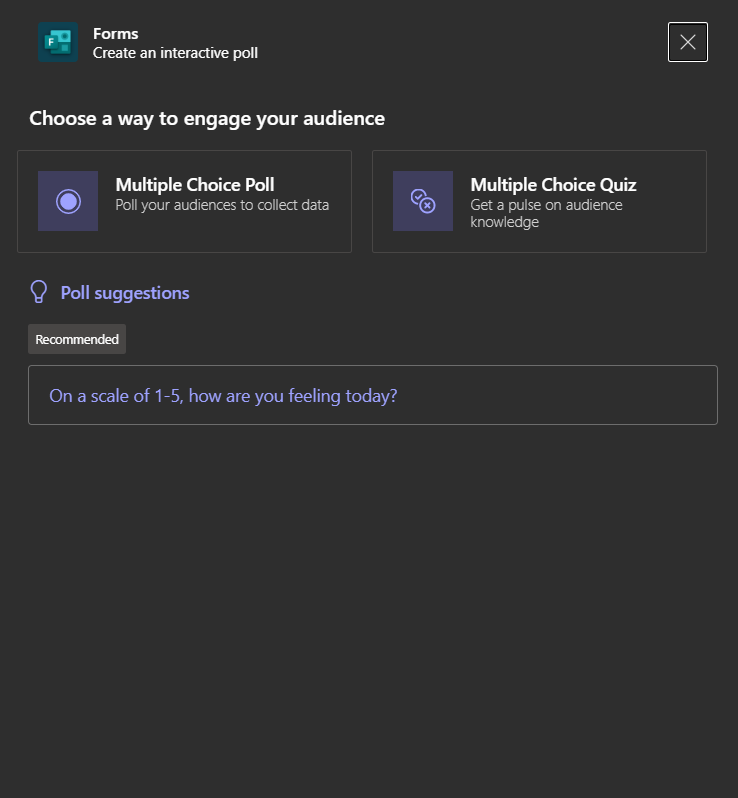
- There are two options that you can choose from: the Multiple Choice Poll and the Multiple Choice Quiz.
- To create a poll, click the Forms icon and click Create New Poll in the screen that pops up.
- Choose a Multiple Choice Poll if you want to collect data on the view of your attendees. There is no right or wrong answer in Multiple Choice Polls.
- Choose a Multiple Choice Quiz if you want to test the knowledge of your participants. You can then set what the right answer(s) is/are.
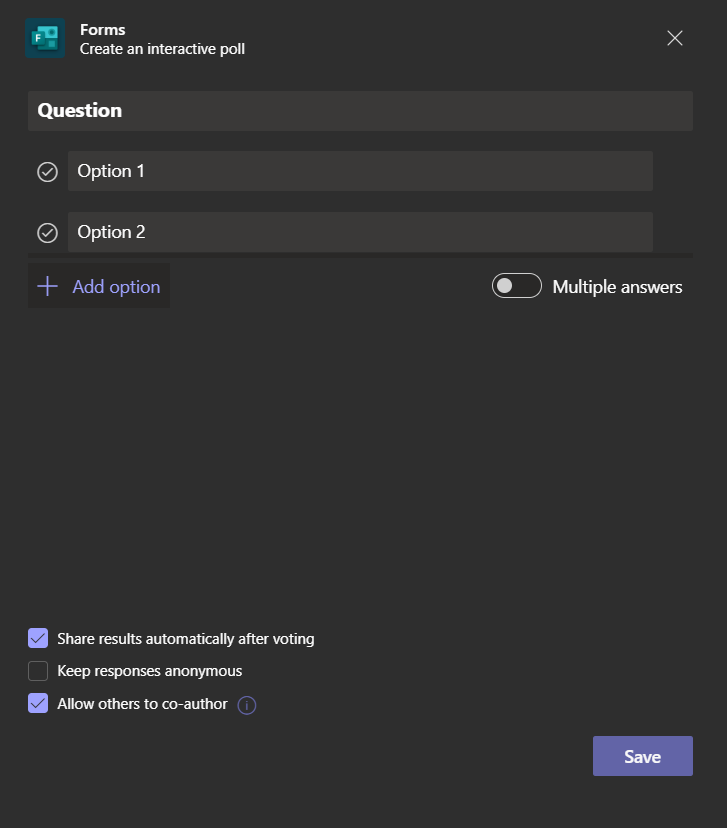
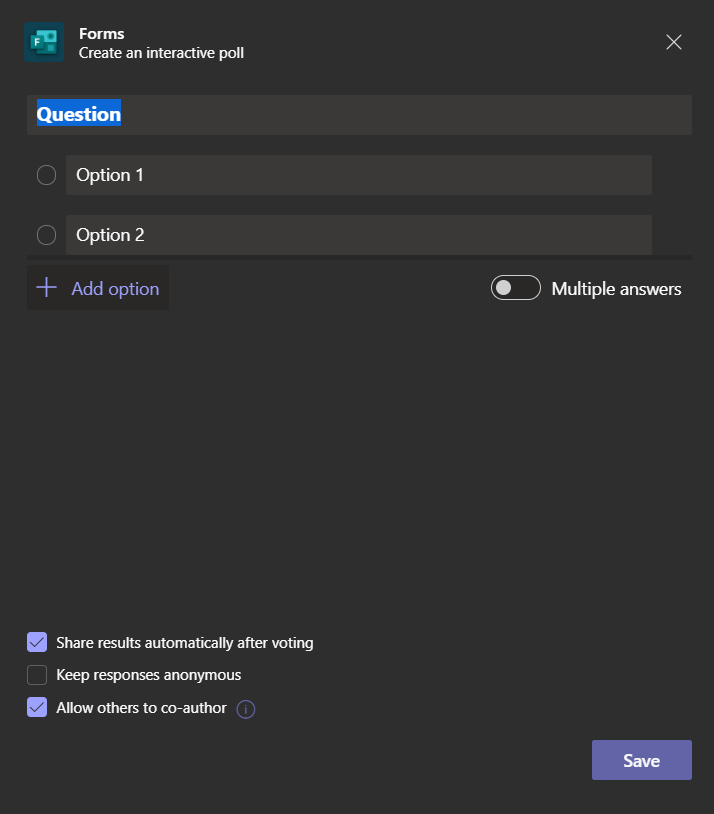
- For both options, you can choose to share the results automatically when voting is completed, to keep the responses anonymous and to allow others to co-author. If you allow others to co-author, all people with a presenter-role will be able to edit the poll when it is live.
After The Webinar
After the meeting, the chat remains visible but can no longer be used. If you chose to use Notes and/or the Whiteboard, these are also saved. The Whiteboard can also be exported as a png file after the meeting and shared manually.
Similar to regular meetings, a recording is available for everyone after the meeting is scheduled to end if the meeting was recorded. If the meeting was held in a channel, everyone in the channel can download the recording. After downloading the video, it can be shared manually in your team or by uploading it to something like Brightspace.